|
|
How to develop your own chat bot Android app |
|
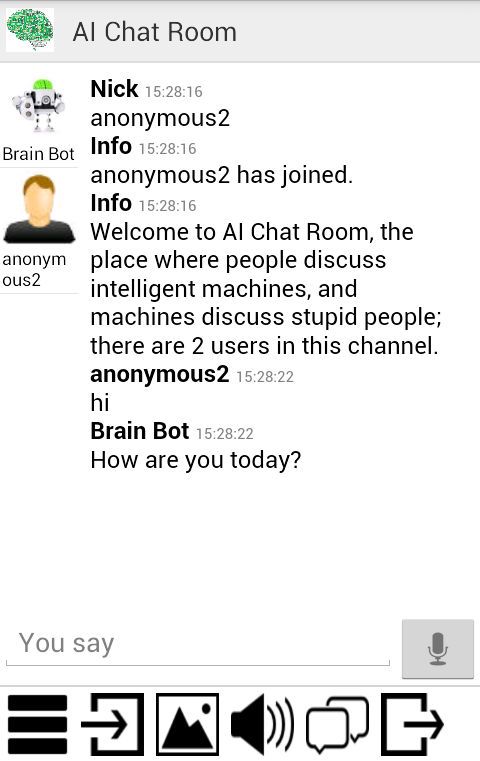
The Bot Libre Android SDK makes it easy to develop your own chat bot app, or add a chat bot to your own app. You can create an app for your business, or to make money from mobile ads and upgrades, or just for fun. Bot Libre's own demo apps have over 1 million downloads on Google Play. The Bot Libre SDK is more than just a library, it includes a complete Android app. The SDK includes a connection API that wraps Bot Libre's web API, and a user interface for all of Bot Libre's components including:
The SDK chat bot interface includes support for:
Getting StartedYou have 4 choices when using the Bot Libre SDK, depending on your functionality requirements and programming ability.
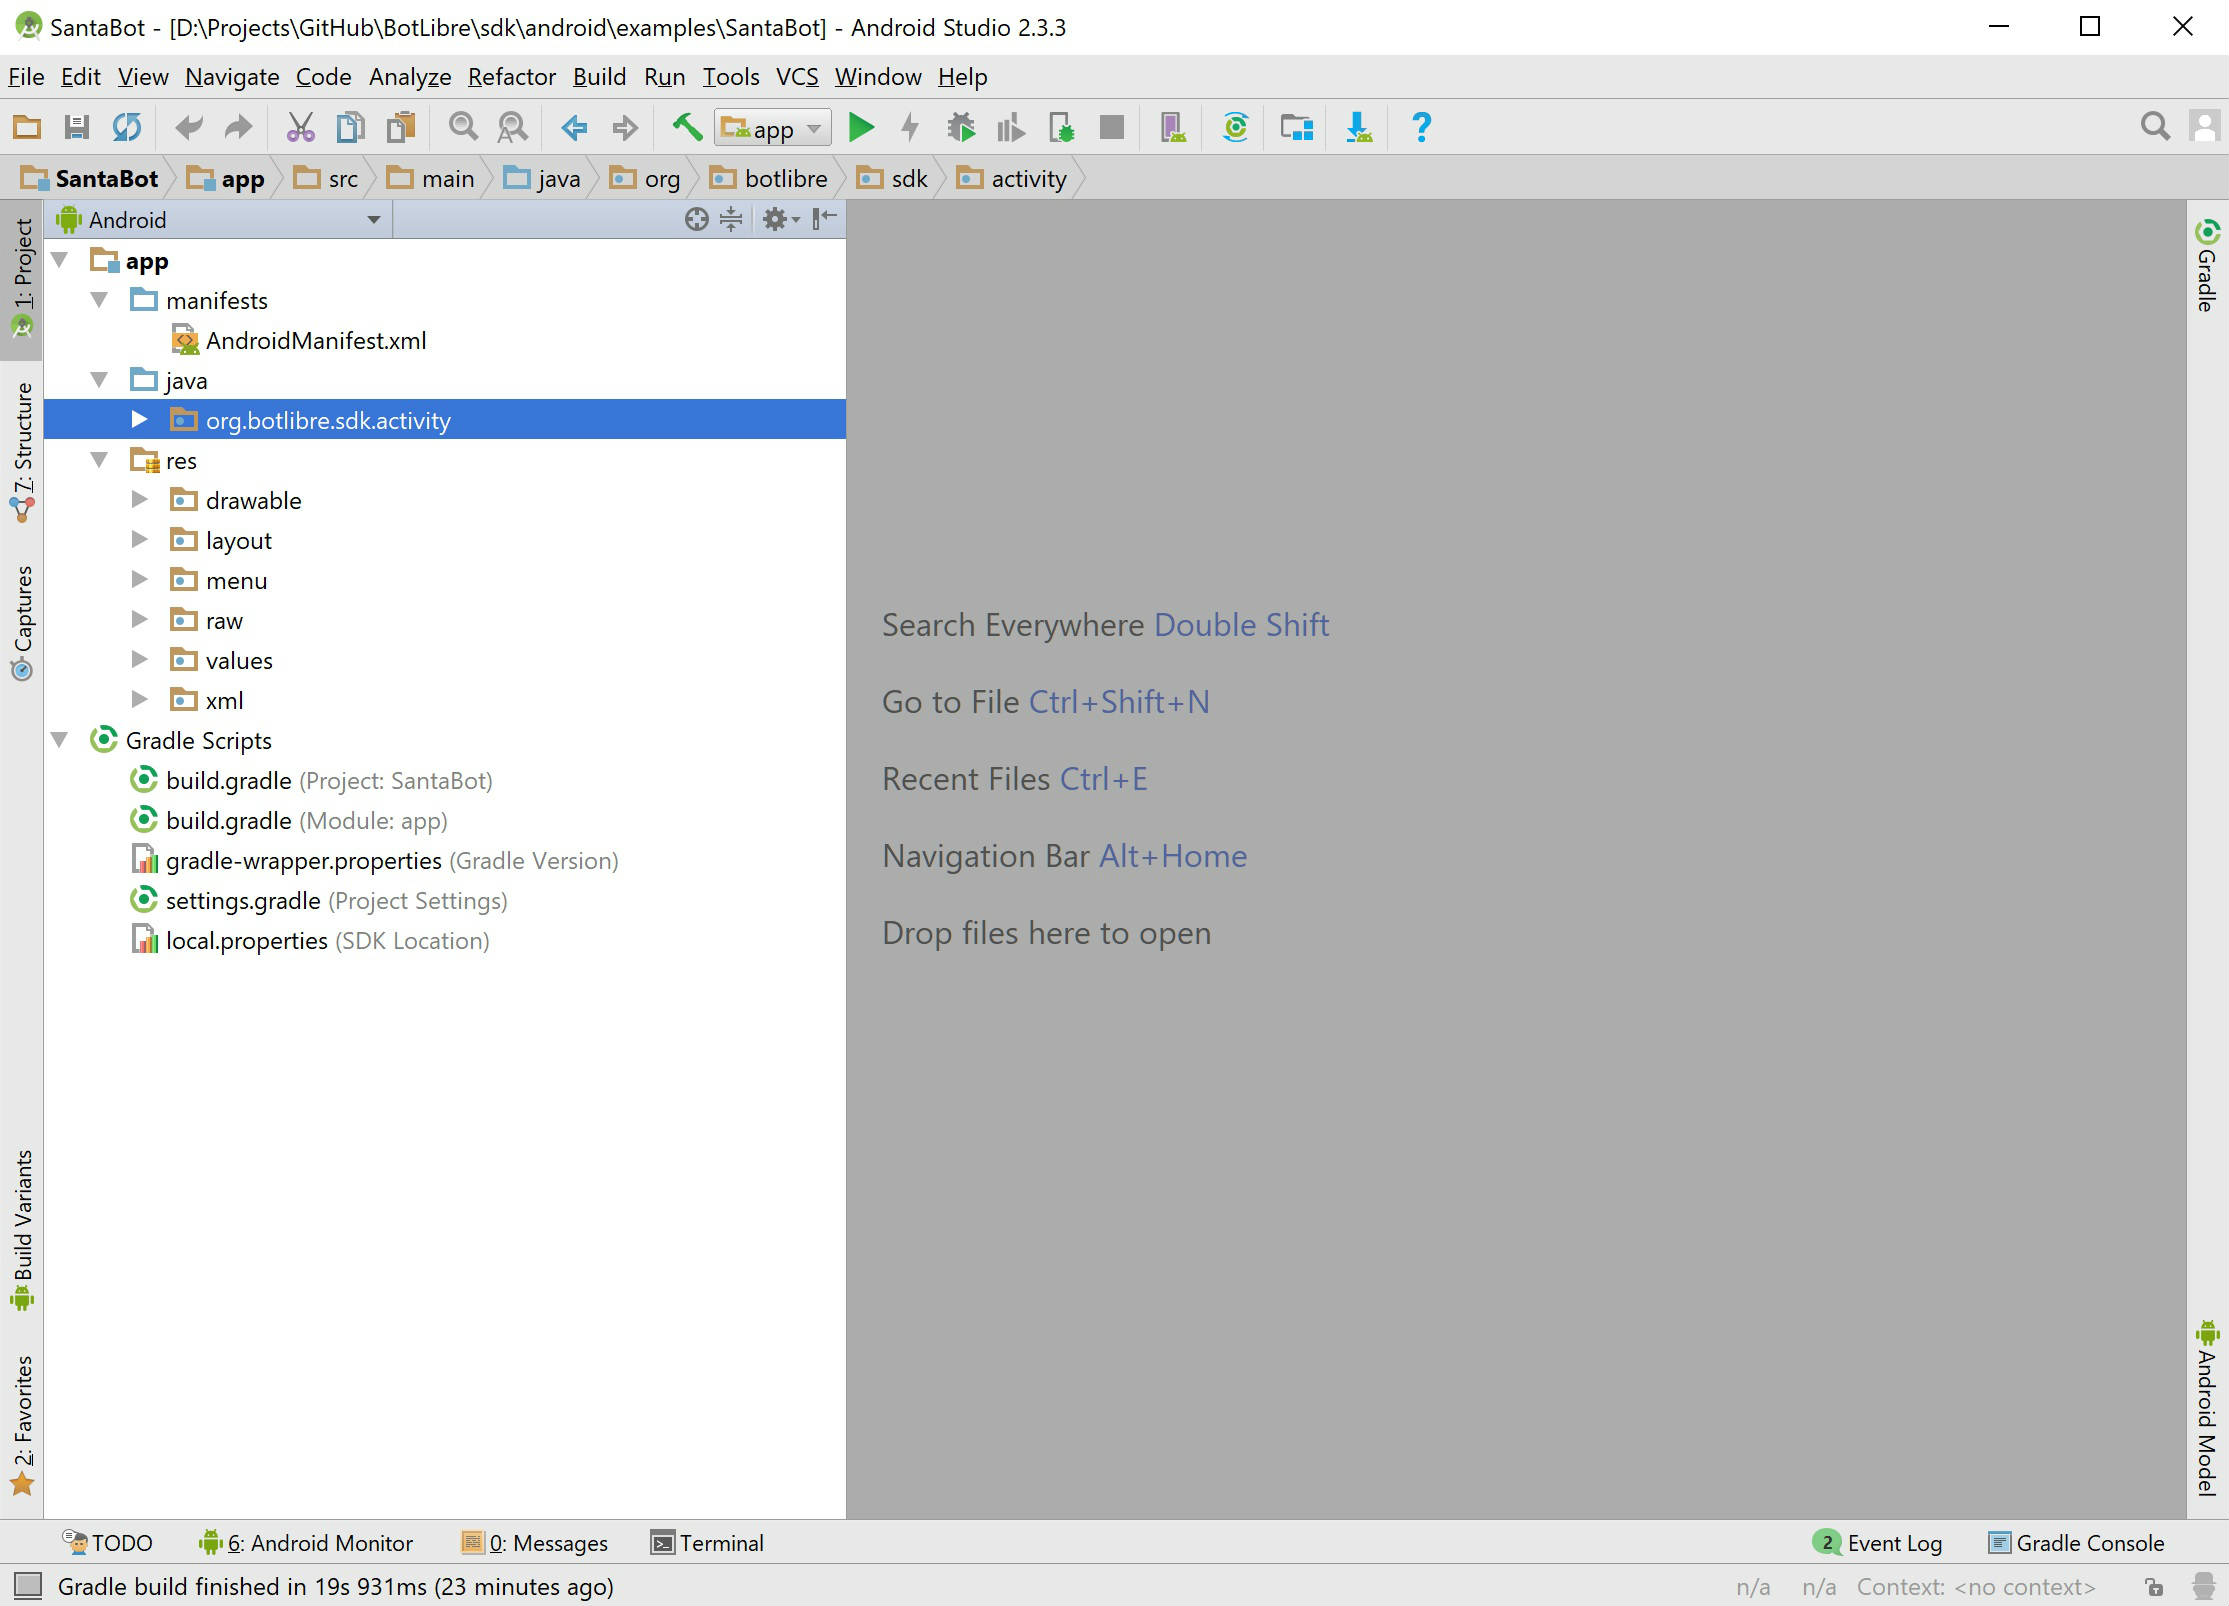
This "how to" article follows the first method, which is the easiest way to build an app. Although this method requires minimal programming, developing an Android app requires you use and understand Java, Android Studio, and how to build and deploy an Android app. For information on developing Android apps see, developer.android.com. If you are not an Android developer we would recommend Bot Libre's app development service. We can develop you your own app for as little as $100 through our Diamond upgrade, contact [email protected] for more information. Step 1 - Download Android StudioAndroid apps are normally developed using Android Studio. You can download Android Studio here. You will need to install Android Studio on your computer, and also install the Android SDK, and an Android emulator. Step 2 - Open Bot Libre Demo appThe Bot Libre SDK includes a complete demo chat bot app, with the full source code. You can download the demo app from GitHub here. The demo app includes an Android Studio project, so you can open the project in Android Studio. You should be able to build and run the project from Android Studio in the emulator, or on your phone.
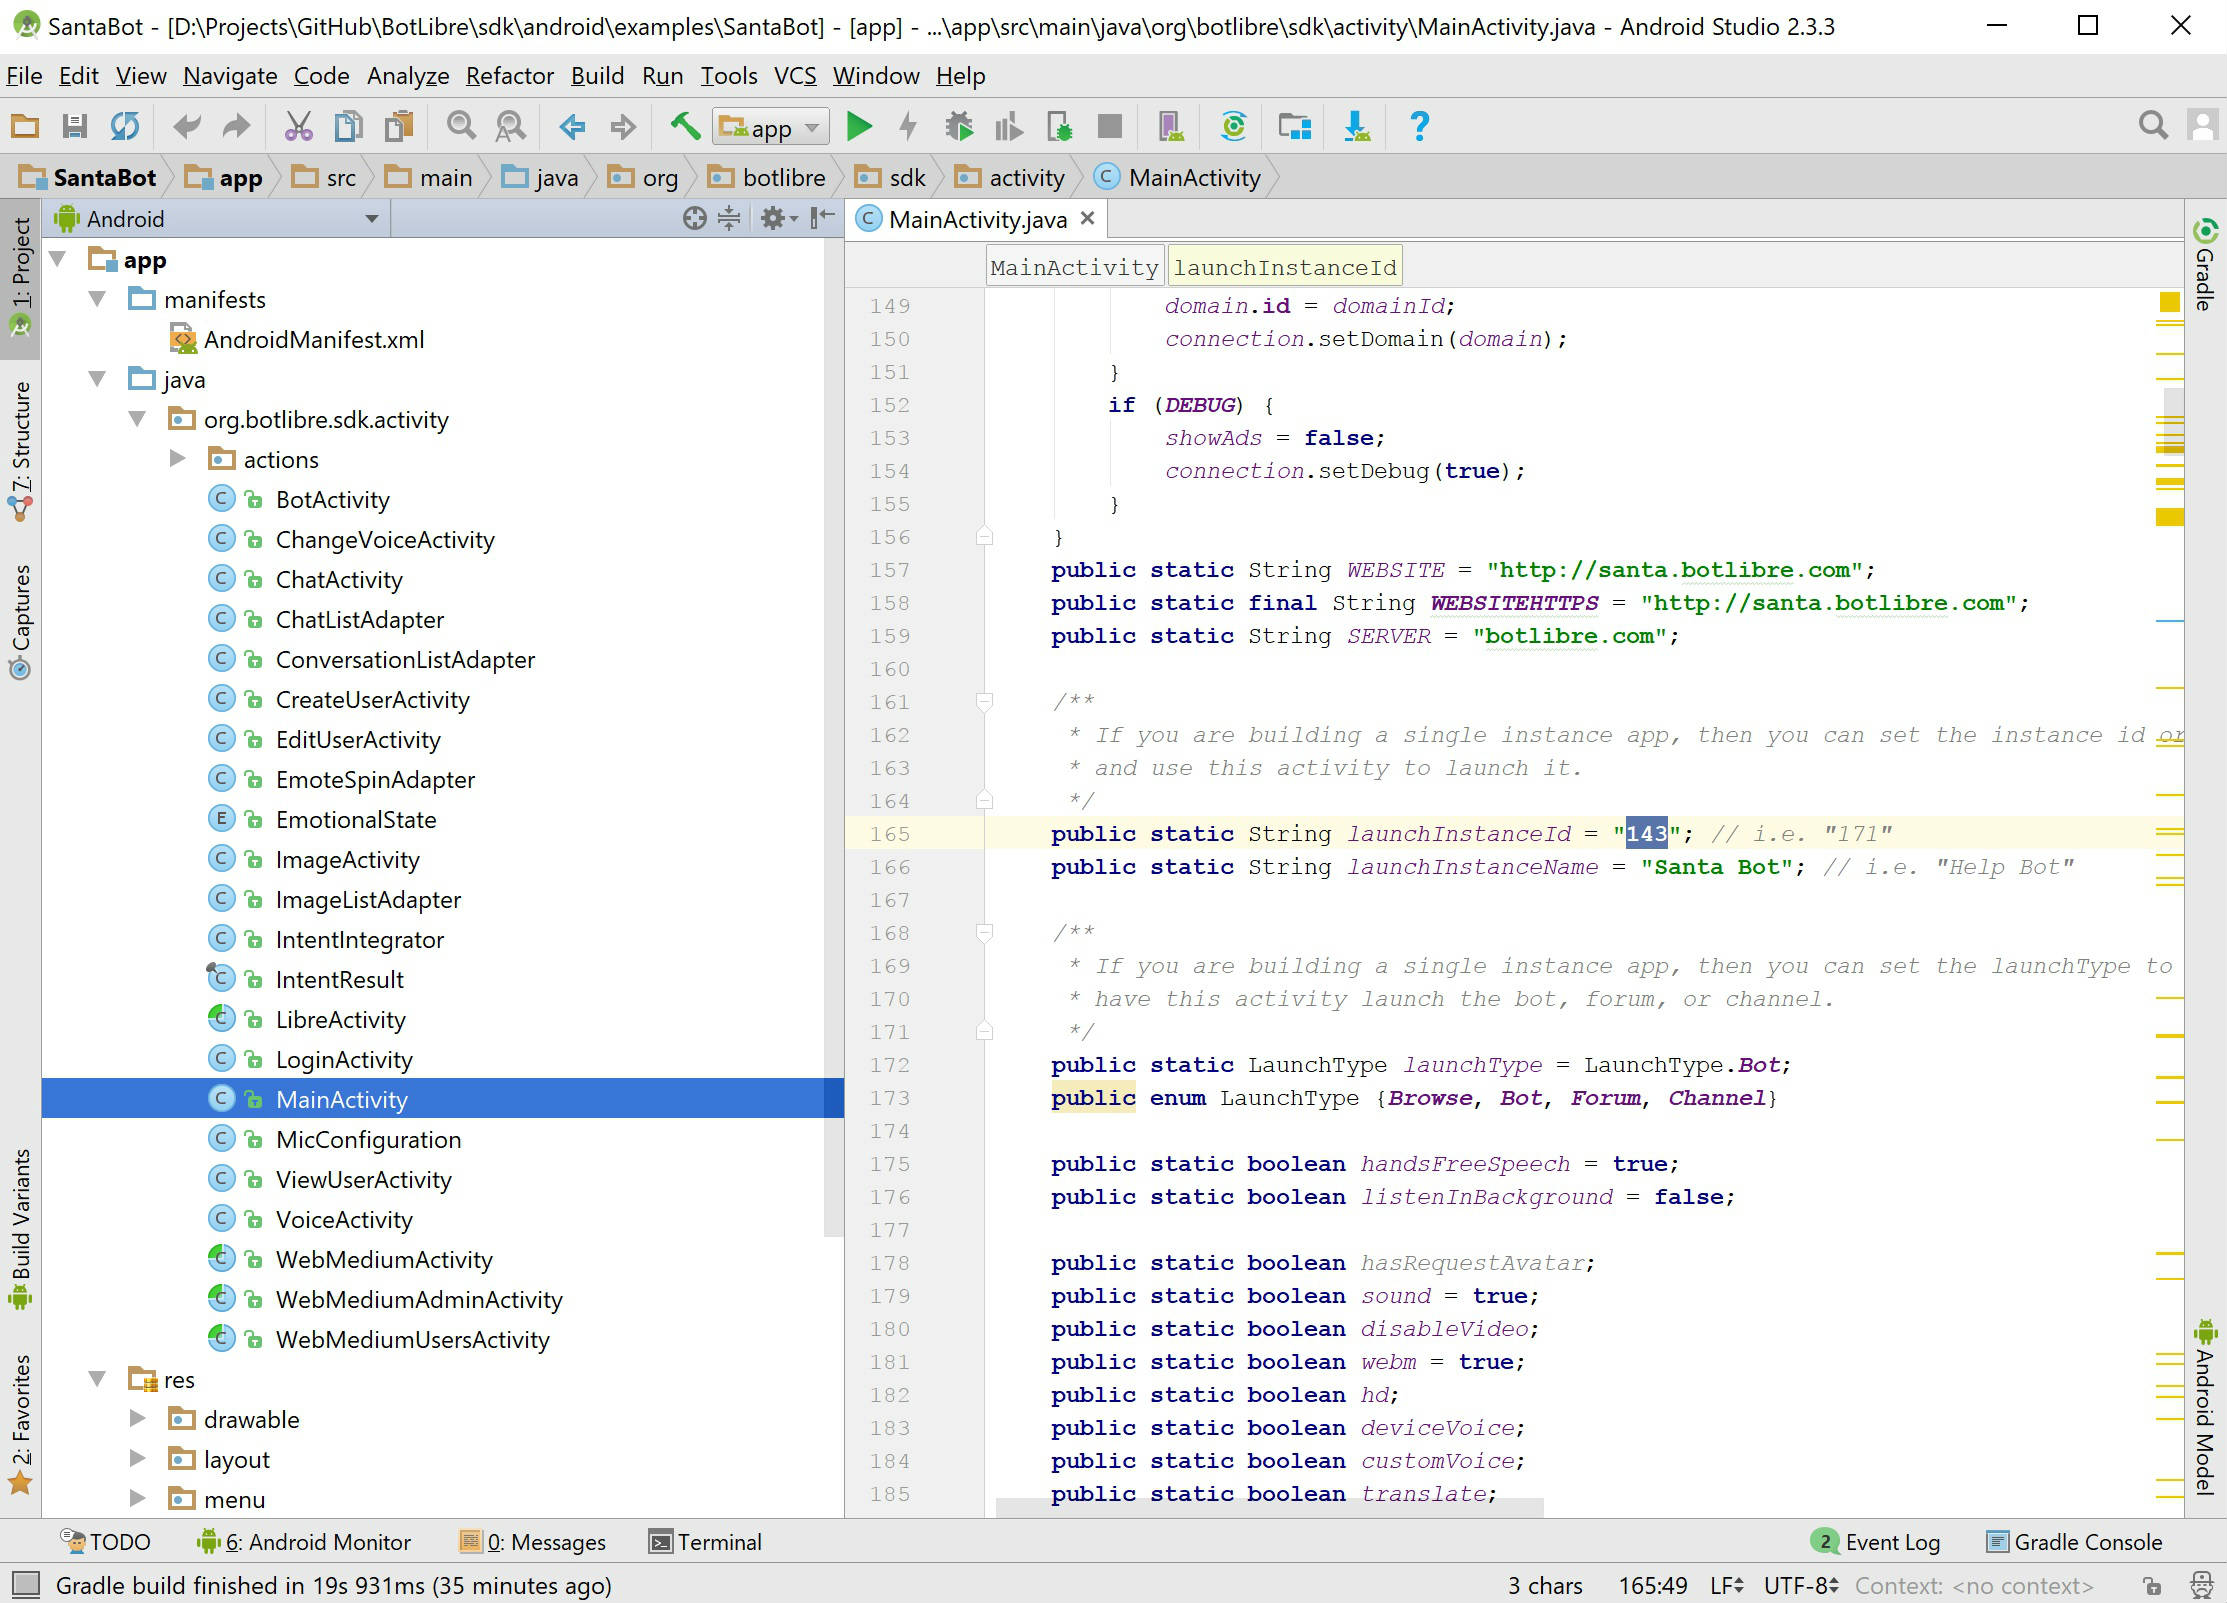
Step 3 - Change the Bot InfoThe demo app uses the "Santa Bot" app. You will want to change it to use your own bot. If you do not have a bot yet, you can create on Bot Libre by following this article. If you go to you're bot's main page on Bot Libre, you can get its "Id" from its "Details" tab. You can also get your user accounts "Application ID" from your "User Details" page. Copy both of these values. Open the "MainActivity.java" file in Android Studio and update the static variables, "applicationId", "launchInstanceId", "launchInstanceName", and save the file. Now when you run your app it should use your bot.
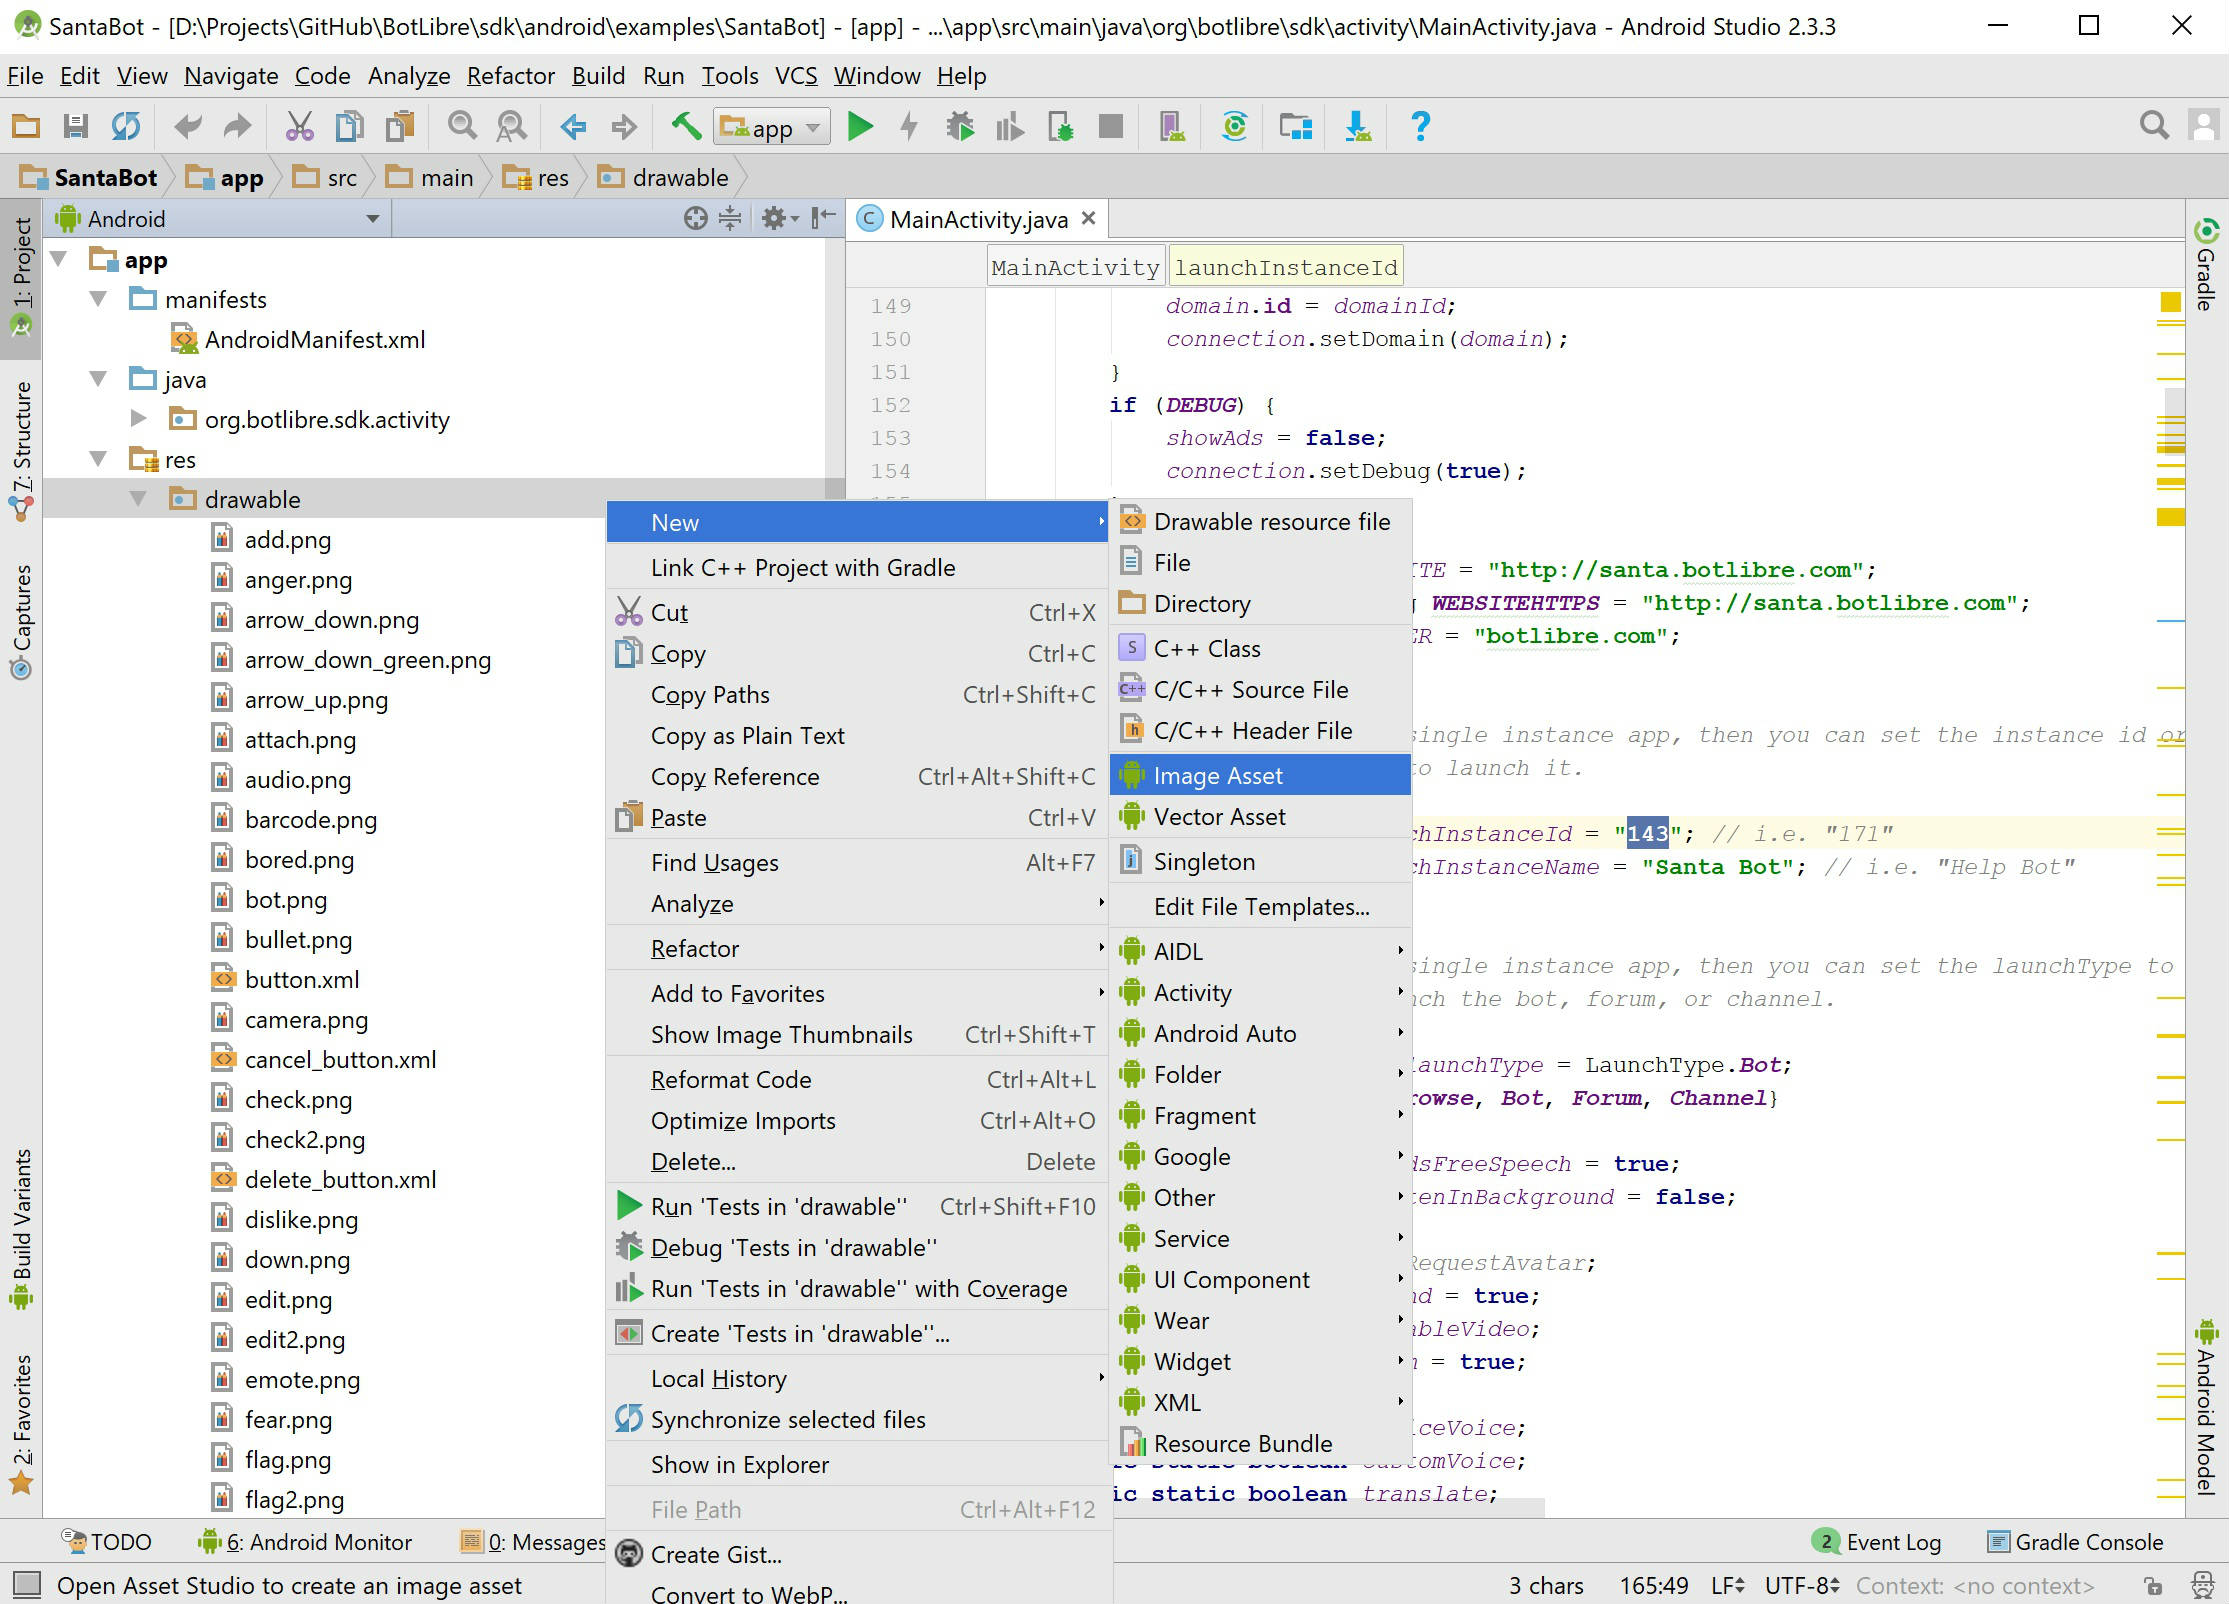
Step 4 - Change Icons and ImagesNext you will want to change the app's splash image and icon for your own bot. To change the app's icon in Android Studio right click on project or select the menu "File", "New", "Image Asset", and create a new icon for the app. You will also want to update the image files "icon.png", "logo.png", and "bot.png" in the "res" "drawables" directory.
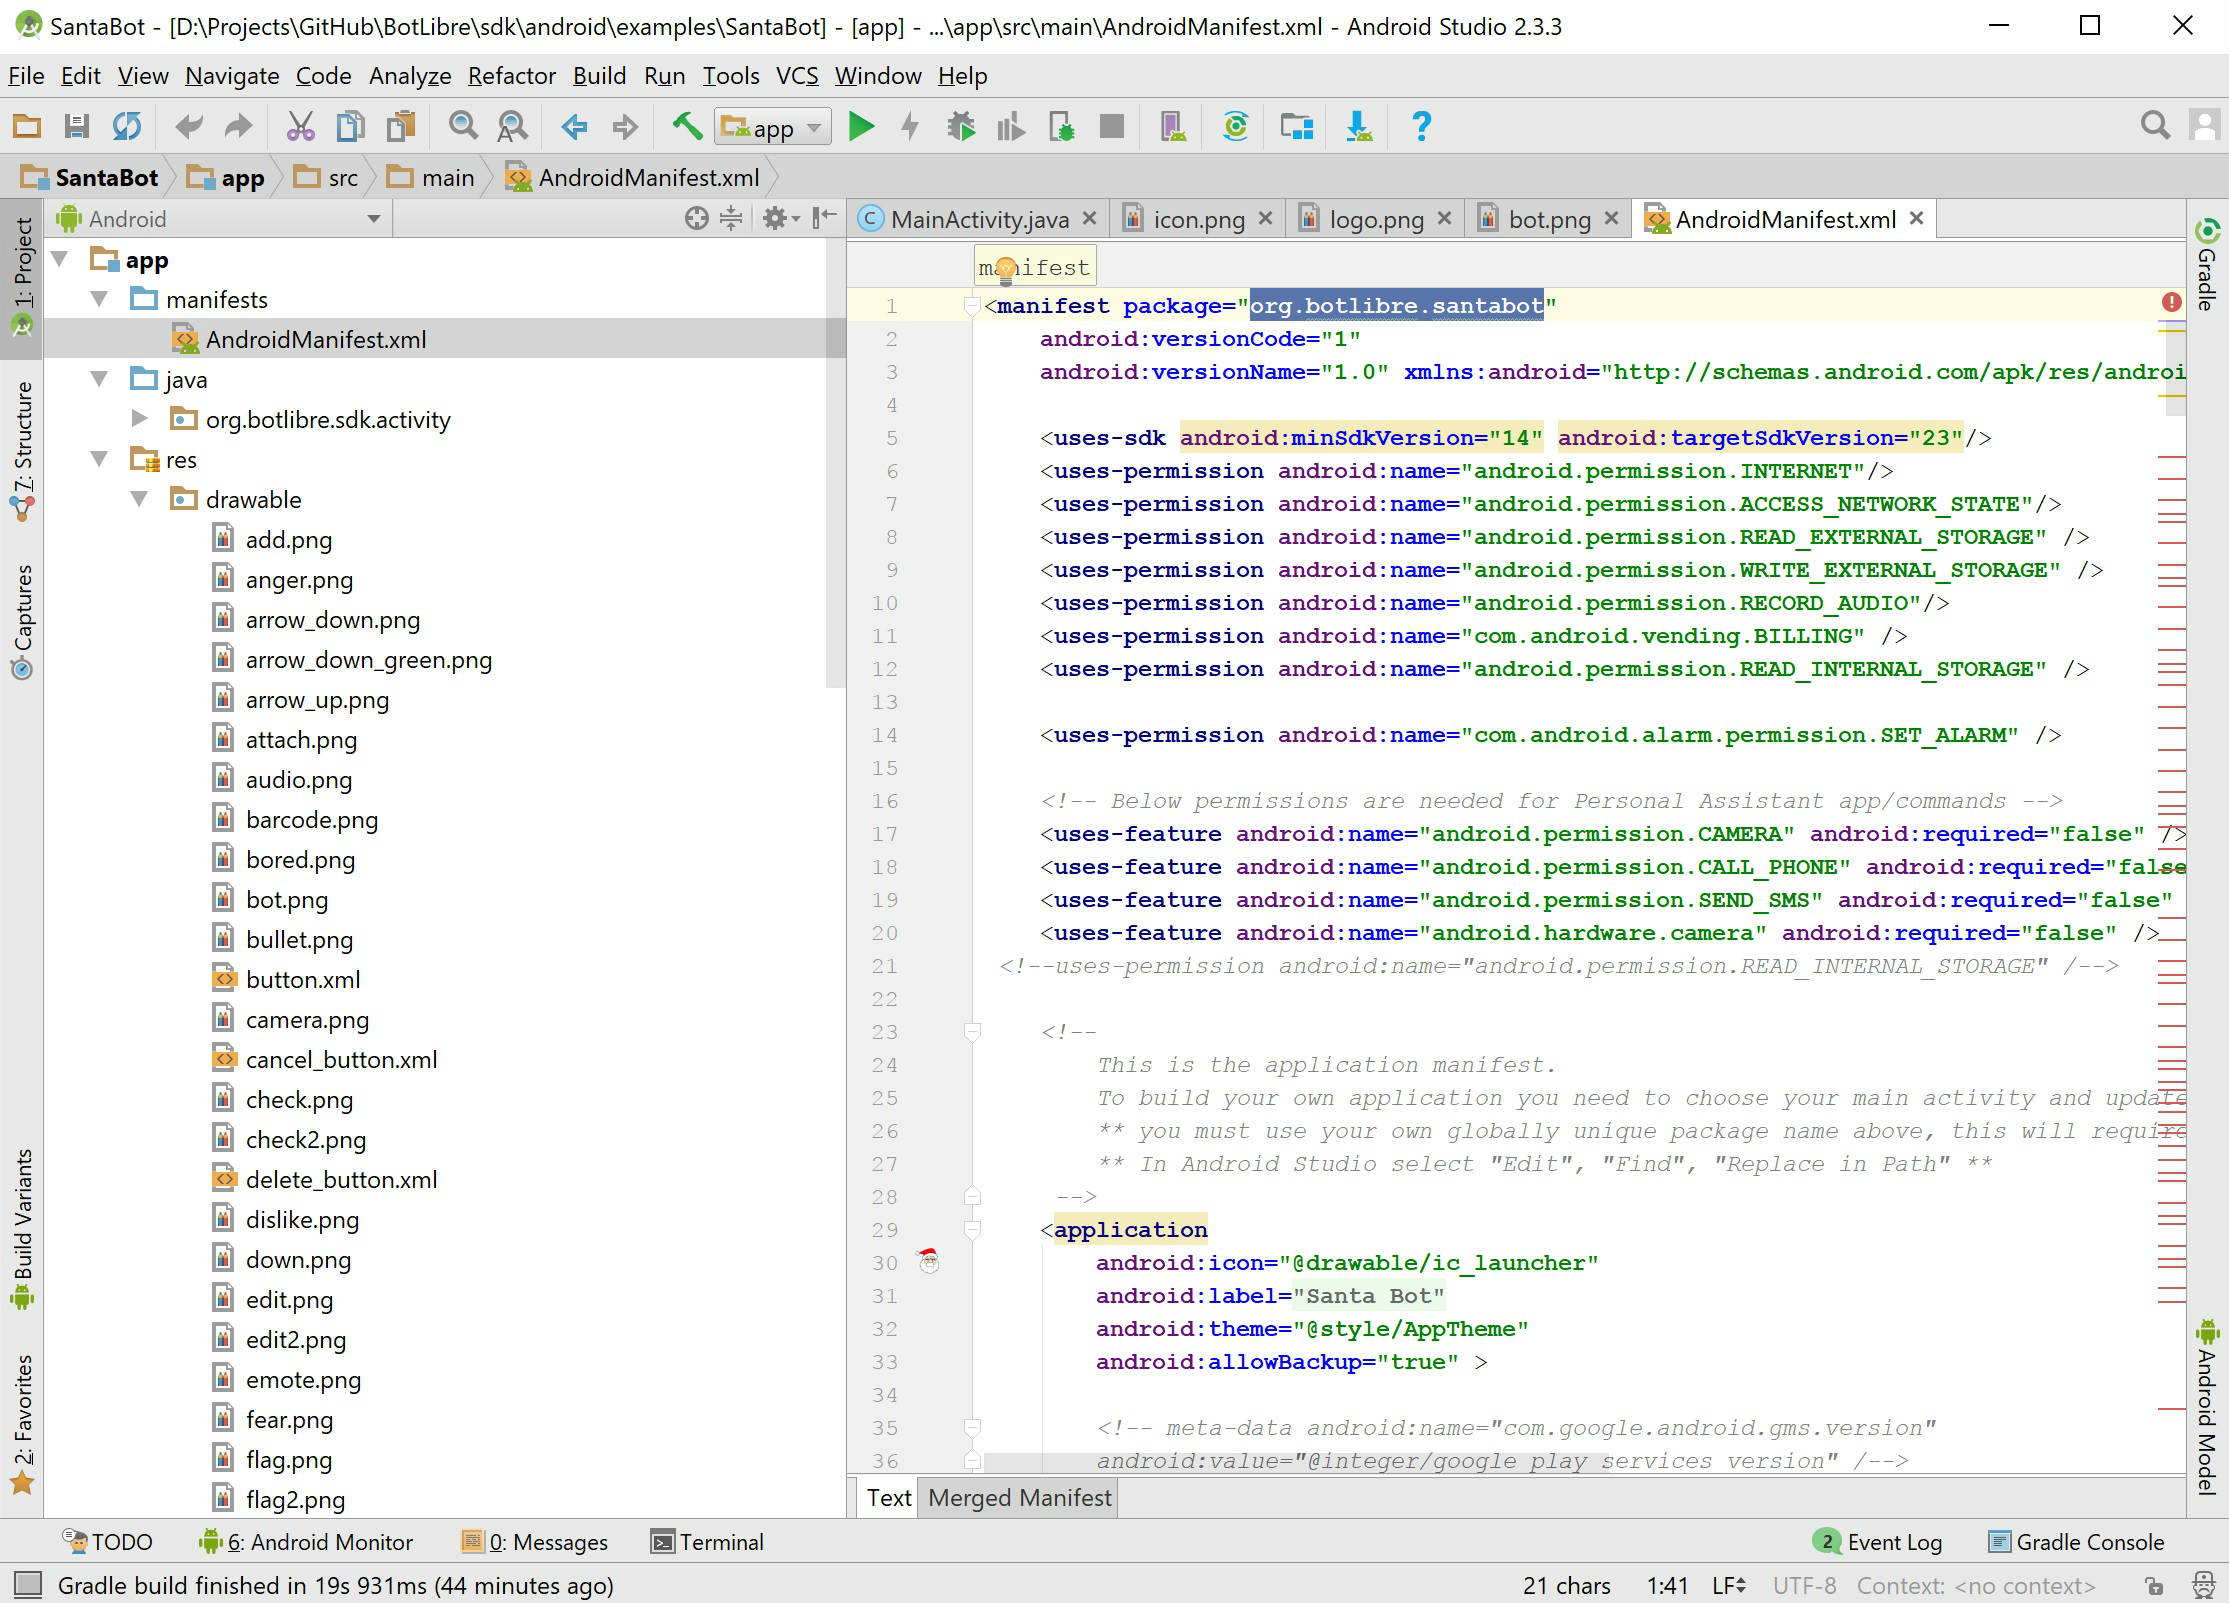
Step 5 - Change the App InfoAn Android app is defined by its manifest.xml file and application package. You need to choose your own app/package name and update your manifest file.
The Android package also affects how the special "R" class is generated in Android. Unfortunately this R class must match the application package, so you need to rename all imports to the "org.botlibre.santabot" package. To do this select the menu "Edit", "Find", "Replace in Path". Enter the old package and the new package and replace all references. You should be able to new build and deploy your new app. You can also build an "apk" file, and upload the file to Android app stores such as Google Play. See also freeappsforme.com If you encountered any issues, or would like help setting up your bot please email us at [email protected] or upgrade to our Platinum service and we can build your bot for you. |
|
|
|
|

